Guttering 101: A Beginner's Guide to Choosing the Right System
Gutters are the least glamorous part of a house and the part most likely to be ignored — until water is running down the render or dripping on your head at the back door. Get them right, though, and they quietly do one of the most valuable jobs on the building: carrying rainwater away from your walls, foundations and garden all year round.
In a single downpour, a moderately sized UK roof sheds a surprising amount of water. A 100m² roof can discharge over 1,000 litres in a heavy storm — enough to fill a small swimming pool. A gutter that's undersized, badly fixed or the wrong profile for the job will overflow exactly when you need it most. This guide covers the choices you'll face, the measurements that matter, and the details that separate a system lasting twenty years from one that leaks by the second winter.
What a gutter system actually does
Rain lands on the roof, runs to the eaves, collects in the gutter, travels along a gentle fall to an outlet, and drops through a downpipe into a drain or soakaway. Every link in that chain matters. When one fails, water ends up somewhere it shouldn't: soaking into fascia boards and rafter ends, staining brickwork, undermining a path, or finding its way into a cellar.
Overflow is usually a symptom rather than the root cause. A blocked outlet, too little fall, too few downpipes or a gutter that has sagged away from the roof edge will all send water over the front. Replacing guttering is therefore a good moment to check the fascia, the roof edge and the drainage below — the parts you can't easily see once everything is back in place.
The main gutter profiles
Most UK homes use one of a handful of profiles, and they are not interchangeable:
- Half-round. The traditional curved shape, widely available in 112mm for domestic use. No internal corners for debris to catch in, so it self-cleans reasonably well. An excellent all-rounder.
- Ogee (sometimes sold as Niagara or decorative). A shaped front with a flat back, common on 1930s and post-war semis. Slightly more capacity than half-round of a similar width.
- Square or box. Straight lines, usually paired with square downpipes. Popular on modern houses and contemporary extensions.
- Deepflow or high-capacity. Deeper profiles for large roof areas, low-pitch roofs, or runs where only one or two outlets are practical.
If you're extending an existing run, identify what's already there before ordering. Brackets, unions, angles and outlets are made for one profile only — a fitting for a 112mm half-round gutter will not sit on an ogee run. Take a short offcut to the merchant if you're unsure, or measure the width and depth precisely.
Materials: what you're paying for
uPVC is the default for good reason. It's light, inexpensive, quick to fit and available in white, black, brown and various greys. Quality varies a lot, though. Thinner budget ranges can discolour, turn brittle under UV and crack at the brackets after a hard frost. Look for a UV-stable product with a long guarantee rather than the cheapest box on the shelf.
Cast iron lasts for decades, handles thermal movement gracefully and looks right on period properties. It's heavy, needs repainting periodically and costs considerably more in both materials and labour — but on a Victorian terrace, nothing else quite looks the part. Aluminium is light and strong, and can be powder-coated in almost any colour, though it expands and contracts more, so expansion joints and bracket spacing need care. Galvanised and coated steel sits between the two and is common on agricultural and commercial buildings. Copper weathers to a soft green but is rarely worth the cost on a domestic home.
Working out the size your roof needs
Gutter sizing isn't guesswork. Manufacturers publish capacity tables linking a profile and downpipe size to the roof area it can drain, based on expected rainfall intensity. Here's the sequence:
- Measure the roof's plan area — the footprint it covers, not the sloping surface.
- Apply a pitch factor. Steeper roofs shed water faster across a smaller footprint, so the effective area rises with pitch.
- Add up the effective area for each separate run of gutter.
- Check the manufacturer's table to find a profile and downpipe size that suits that figure.
- Decide how many outlets you need. Most domestic runs work with an outlet at each end; longer runs may need more.
A standard UK setup of 112mm half-round gutter with 68mm round downpipes copes comfortably with most terraced and semi-detached roofs. It's when you add a rear extension, a large conservatory or a big detached roof that deeper profiles or extra downpipes come into play. As a rule of thumb, one downpipe per 50–70m² of effective roof area is a sensible starting point for domestic work, but always check the manufacturer's figures.
Fall, brackets and other details that cause leaks
Most gutter failures aren't caused by the gutter itself, but by how it was installed.
- Fall. Manufacturers usually specify a gentle slope towards the outlet, commonly between 1:350 and 1:600. Too flat a fall and water sits in the gutter, allowing debris to accumulate and eventually causing overflow. Too steep a fall and water rushes past the outlet, leaving the far end of the run dry and the outlet overwhelmed. A string line and a spirit level are your friends here.
- Bracket spacing. Brackets hold the gutter in line and carry the weight of water. Space them too far apart and the gutter sags between them, creating ponds and pulling joints apart. Most profiles need a bracket every 600–800mm, and always within 150mm of a joint or outlet.
- Joints and seals. Push-fit joints rely on a rubber gasket to stay watertight. Make sure the gasket is seated correctly, the joint is fully home, and the gutter is clean and dry before assembly. A smear of silicone lubricant helps, but never use solvent-based sealant on uPVC.
- Outlet and downpipe alignment. The outlet must sit at the lowest point of the run. If it's even a few millimetres high, water will stand behind it. The downpipe should drop vertically and be fixed to the wall with a bracket every 1.5–2 metres.
- Expansion gaps. uPVC expands and contracts with temperature. At the end of a run, leave a small gap (often 10mm) inside the stop-end, and use expansion joints on long runs. Without them, the gutter can buckle or pull apart on a hot day.
Get these details right and the system will look after itself. Get them wrong and you'll be up a ladder every time it rains.
Downpipes, drains and soakaways
The gutter is only half the story. Water has to go somewhere, and a surprising number of "gutter leaks" are actually problems below ground. A downpipe that discharges onto a path will erode the surface and splash back onto the wall. One that feeds into a blocked drain will back up and overflow at the lowest joint.
Ideally, every downpipe should connect to a proper drainage system — either a foul sewer (if your local water authority allows it) or a surface water sewer. If neither is available, a soakaway is the traditional solution: a buried crate or rubble-filled pit that lets water seep into the ground. Soakaways need to be sized to the roof area and located at least 5 metres from the building to avoid damp. In heavy clay soils they may not work at all, and you'll need to consider a rain garden or a storage tank instead.
It's also worth checking that downpipes don't discharge directly onto a neighbour's property. In the UK, the right to drain onto a neighbour's land is not automatic, and disputes over water are notoriously bitter.
Maintenance: keeping the system flowing
Even a perfectly installed gutter needs occasional attention. Leaves, moss, twigs and tennis balls (yes, really) will find their way in. The trick is to catch problems early.
A simple seasonal routine
- Autumn: Clear leaves from gutters and outlets after the first big fall. If you have trees nearby, fit gutter guards or a leaf catcher at the outlet.
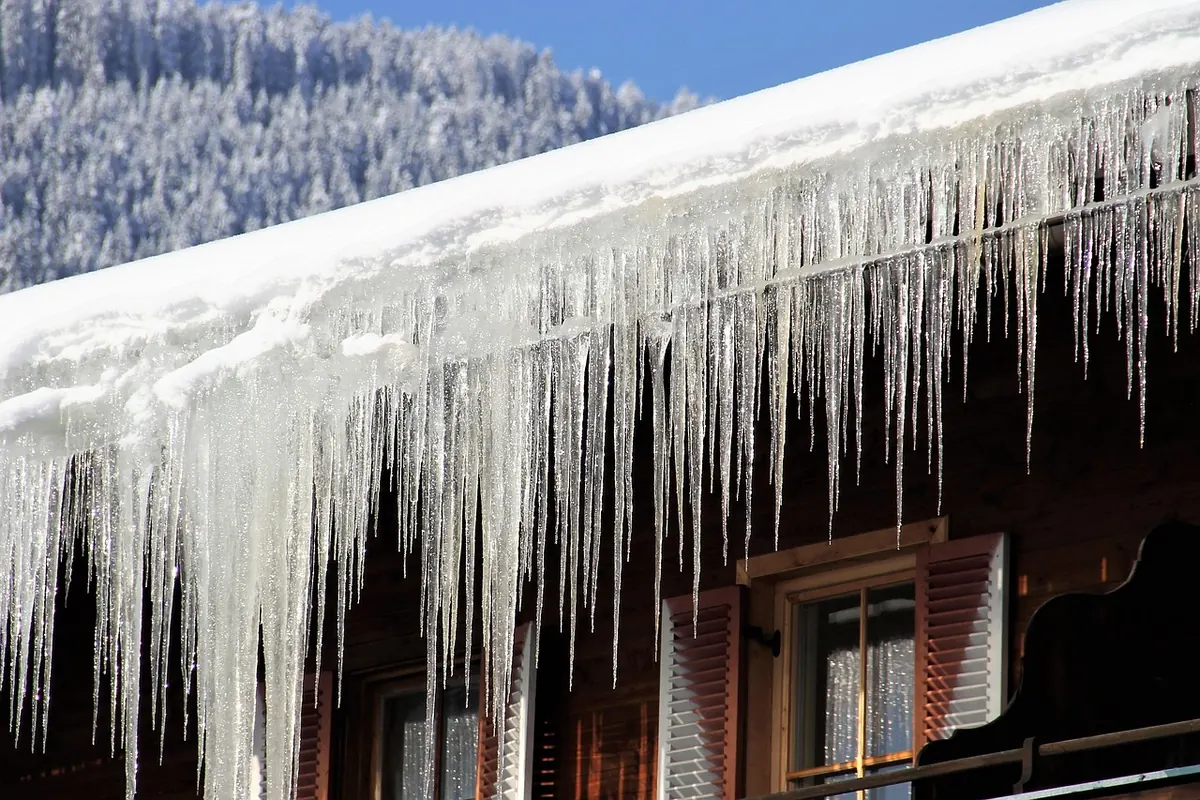
- Winter: Check for sagging or pulled joints after storms and hard frosts. Ice can crack uPVC if water is trapped in a joint.
- Spring: Look for signs of overflow — staining on the fascia, moss growth in the gutter, or damp patches on the wall. Flush the system with a hose and watch the water run away.
If you're uneasy on a ladder, don't do it. A fall from gutter height can be fatal. Many window cleaners and gutter-cleaning firms offer a camera survey and vacuum service for less than the cost of a single broken bone.
For a typical house, a professional clean every 12–18 months is usually enough. If you live under trees, you may need it twice a year.
DIY or professional installation?
Replacing a single section of gutter is a manageable DIY job for someone with basic tools and a head for heights. You'll need a ladder, a drill, a spirit level, a string line and a hacksaw. But full-house replacements, or any work above a conservatory or a fragile roof, are best left to the professionals. They'll have the right access equipment, insurance and experience to get the fall and fixings right first time.
When getting quotes, ask about the material specification, the guarantee, and whether the price includes disposing of the old system. A good installer will also check the fascia boards and replace any rotten timber before fitting new gutter — otherwise the new brackets won't have anything solid to fix to.
Guttering is one of those things you only notice when it's wrong. Take a little time to get the profile, material and sizing right, and you'll have a system that disappears into the background — exactly as it should.
Photo: 5598375 / Pixabay